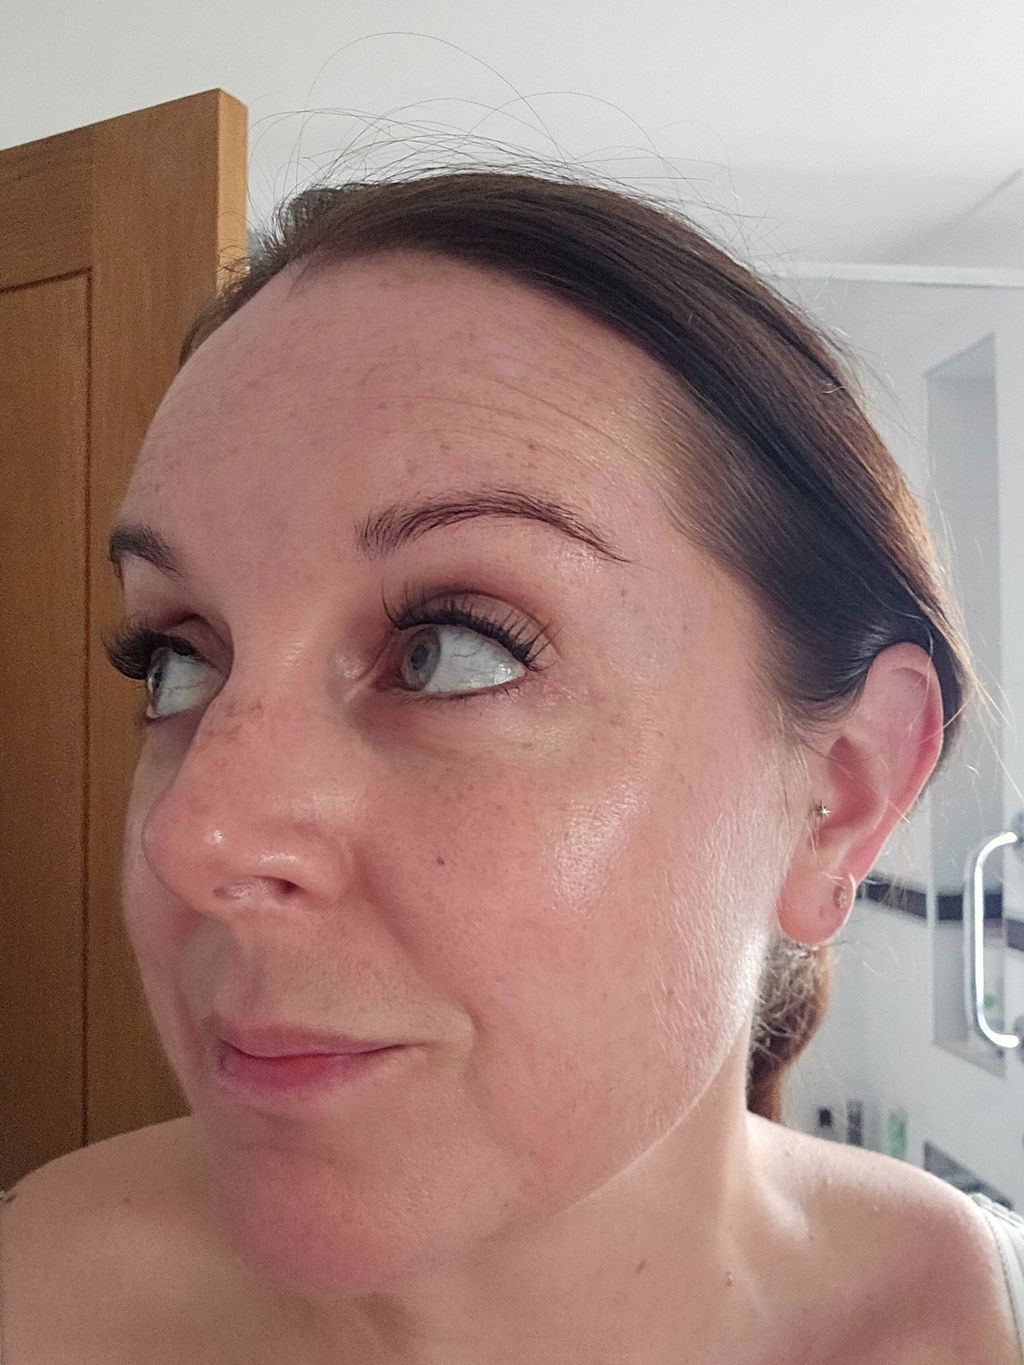
A polished, salon-style lash look does not have to begin with a salon booking, a lengthy appointment or a tricky strip lash that refuses to sit straight. Can beginners use lash clusters? Absolutely - especially when they start with a lightweight, comfortable style and a simple application method that gives them control over the final look.
Cluster lashes are designed to be built up in small sections, so you can create soft everyday definition, a wispy finish or fuller glam without committing to one full lash strip. The key is not trying to create the most dramatic look on your first go. Start small, place carefully and let your confidence build with every cluster.
Can beginners use lash clusters successfully?
Yes. Lash clusters can be one of the most beginner-friendly ways to wear false lashes because they are flexible. Rather than applying one long band across the full eyelid, you work with individual lash segments. If one section is not quite right, you can adjust that section without starting the whole eye again.
That said, the easiest experience depends on the system you choose. Traditional clusters require separate adhesive and usually take a little more practice, as you need to manage the amount of bond and placement timing. Pre-glued or self-adhesive clusters remove much of that fuss. They are a brilliant option for first-timers who want an ultimate hassle-free lash application in seconds, with less mess and less room for glue-related mistakes.
Beginners also benefit from the ability to customise. You do not need to fill every part of the lash line. A few shorter clusters at the outer corner can give the eye a lifted, softly defined effect that feels wearable for work, brunch or a last-minute night out.
Choose a style that makes application easier
The easiest cluster lash style is rarely the longest or fullest one. Very dramatic lashes can look beautiful, but they make placement errors more obvious and may feel heavier if you are not used to wearing lashes. For your first application, choose a light-to-medium volume style with a soft curl and shorter lengths.
A wispy, natural design is especially forgiving because it blends easily with your own lashes. If you have small or hooded eyes, keeping the longest clusters towards the outer third of the eye can create lift without overwhelming your eye shape. If you prefer a more open-eyed look, place a subtle increase in length around the centre, then taper back down at the edge.
Do not feel obliged to copy a full lash map from social media. Your eye shape, natural lash density and preferred finish all matter. The best beginner look is the one that feels comfortable, suits your features and still looks like you on a good beauty day.
Start with a short outer-corner set
A half set is a smart first attempt. Use two or three clusters on the outer half of each eye, beginning with the shortest section closer to the centre and moving slightly longer towards the outer corner. This gives a pretty, lifted result while keeping the application quick and low-pressure.
Once you are happy with that placement, you can add clusters towards the middle on another day. Building gradually is far easier than applying a full, dense set when you are still getting used to the angle of your mirror and applicator.
Prepare your lashes, not just your products
Good preparation makes a noticeable difference to how neatly clusters sit. Begin with clean, dry lashes and lids. Remove mascara, skincare oils and eye makeup residue, as these can stop adhesive from gripping properly or make self-adhesive clusters slide.
Gently curl your natural lashes if you like, then use a light coat of mascara only if your chosen lash system allows it. With pre-glued clusters, clean natural lashes are often all you need. Applying too much mascara beforehand can create clumping and make it harder for the clusters to blend naturally.
Lay your clusters out before you begin. Check the lengths and decide where each one will go, keeping shorter pieces for the inner eye and longer pieces for the outer eye if you are creating a classic soft wing. Good lighting, a magnifying mirror and a steady surface make the whole process feel much easier.
How to apply lash clusters for the first time
The goal is to place each cluster close to your natural lash line, not on the waterline and not directly onto the skin inside the eye. Look slightly down into your mirror rather than lifting your chin high. This angle gives you a clearer view of the lash base and helps keep placement comfortable.
1. Pick up one cluster carefully
Use clean tweezers or a lash applicator to lift the cluster from the tray by its base. Avoid squeezing the lash fibres, as this can affect their shape. If you are using a pre-glued design, try not to touch the adhesive strip more than necessary.
2. Place the outer cluster first
For a beginner-friendly half set, start at the outer corner. Position the cluster just above or beneath your natural lashes according to the instructions for your chosen system. Press gently for a few seconds, then release slowly.
The outer corner is a useful starting point because it helps you see the direction of your lash map. Keep the cluster angled slightly upwards rather than dragging it too far outwards. This creates lift instead of a droopy finish.
3. Add the next cluster with a tiny gap
Place the next section beside the first, keeping the bases close together without stacking them. A very small gap is fine, particularly with wispy styles. Trying to make every cluster completely seamless can lead to overhandling and make the set less comfortable.
Repeat on the other eye before filling in more sections. Switching between eyes helps you keep the shape balanced and stops you from creating one very full side while you are still deciding what you like.
4. Check comfort before adding more
Blink normally and look straight ahead. If a cluster feels scratchy, heavy or too close to the inner eye, remove and reposition it rather than hoping the feeling will disappear. Lashes should enhance your look, not distract you from your day.
Common beginner mistakes and easy fixes
The most common mistake is using too much adhesive with traditional clusters. More glue does not mean better hold. It can create a messy base, stick lashes together and make removal harder. Follow the product directions and use only the recommended amount.
Another common issue is placing clusters too far from the natural lash line. This creates a visible gap and can make lashes look disconnected. Work slowly, use a close mirror and place one cluster at a time. If you can see a large gap once you look straight ahead, gently adjust the section before the adhesive fully sets.
Beginners also sometimes choose lengths that are too long for the inner corner. This can feel uncomfortable and make the eye look weighed down. Keep the inner area light, short and soft - or skip it entirely for your first few applications.
Finally, avoid rushing removal. Pulling clusters off can tug at your natural lashes. Use the removal method recommended for your lash system, gently loosen the cluster and lift it away with care. If you experience irritation, discomfort or an adhesive sensitivity, remove the lashes promptly and stop using the product.
Make your first lash look feel like you
There is no prize for the fullest set or the fastest application. The most flattering beginner result is often a soft, airy arrangement that simply makes your eyes look brighter and more defined. Once placement feels natural, you can experiment with longer lengths, fuller volume and different maps for evenings, events and holidays.
Lash Ribbons offers a wide choice of cluster styles, so you can move from a barely-there outer-corner lift to a more noticeable salon-quality lash extension effect at your own pace. A few minutes of practice can turn a once-intimidating step into the quickest part of your getting-ready routine.
Give yourself permission to keep the first set simple. With clean lashes, a forgiving style and careful placement, clusters can be a confidence-boosting beauty shortcut that looks polished without asking for professional-level skill.