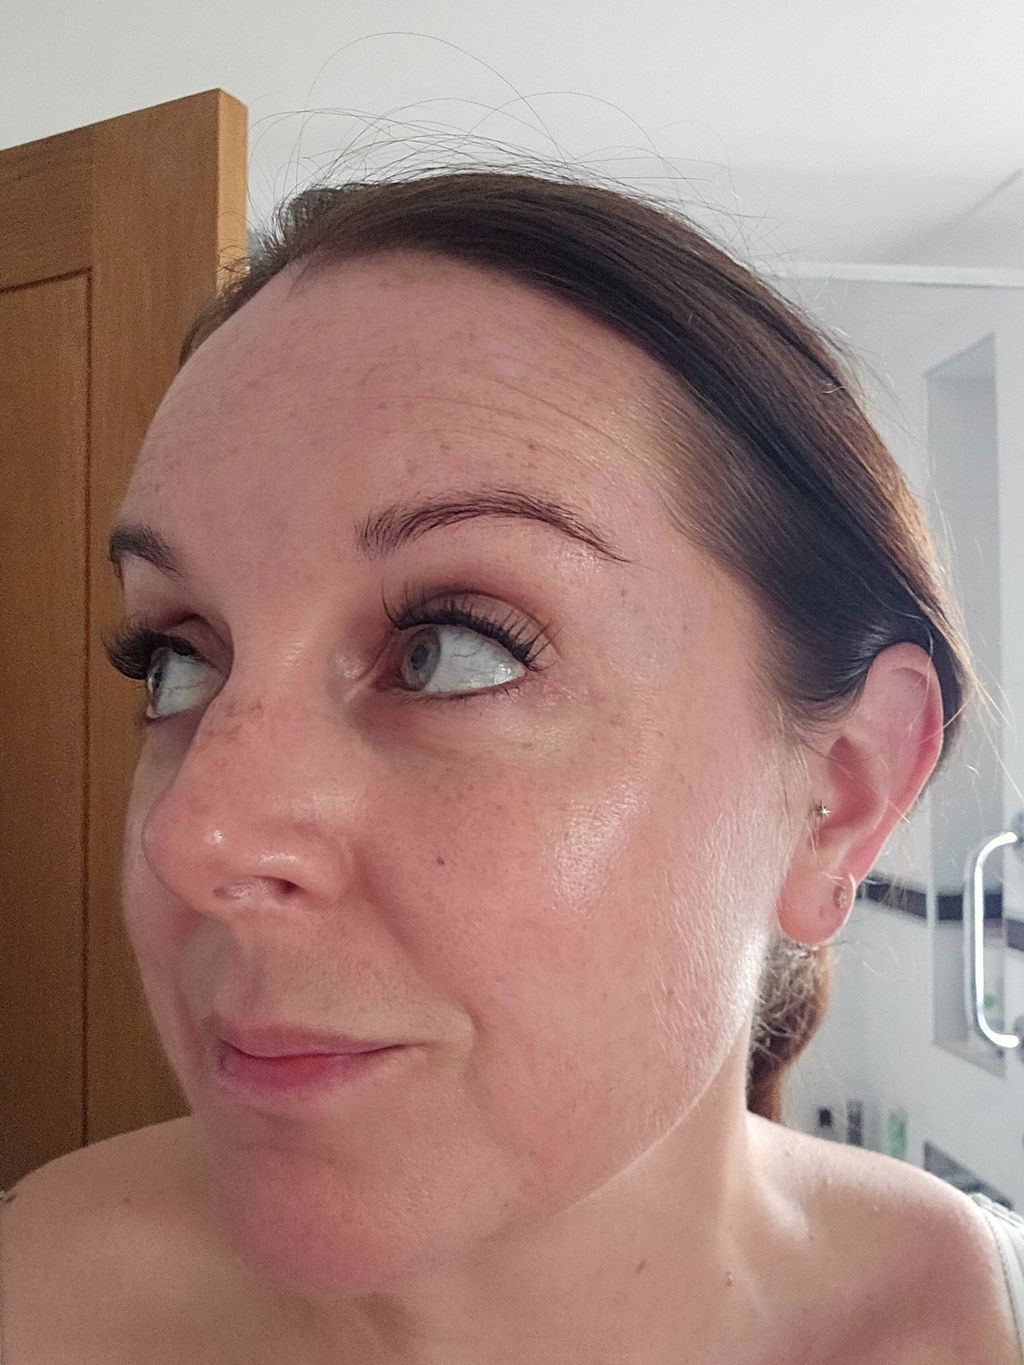
A polished lash look should not require a salon booking, sticky fingers or twenty minutes in front of the mirror. A pre-glued lash starter set gives you the fastest route to soft, lifted, salon-quality lashes at home, whether you are trying clusters for the first time or simply want your morning routine to move quicker.
The difference is in the prep. Rather than applying a separate bond to every cluster, pre-glued lashes arrive with adhesive already in place. Choose your style, place the clusters beneath your natural lash line and press them together. The result is a put-together eye look in seconds, with far less mess and guesswork.
What comes in a pre-glued lash starter set?
A starter set is designed to take the uncertainty out of DIY lashes. You have what you need to create a full look without trying to work out which tools, bond or style to buy first.
At its core, expect pre-glued lash clusters in a chosen curl, length and finish. Cluster lashes give you more control than a full strip lash: you can create a light outer-corner lift, a soft everyday set or a fuller, fluttery finish by changing the placement. Most starter sets also include an applicator, which helps you hold and position each cluster securely without using your fingertips.
Depending on the set, you may also have a small mirror or a removal and care accessory. The key benefit is that the adhesive step has already been handled. For beginners, that means fewer products on the dressing table and fewer chances to apply too much glue.
Why pre-glued feels easier
Traditional lash glue can be brilliant when you want a familiar strip-lash routine, but it asks more of you. You need the right amount of product, enough drying time for it to turn tacky, and steady placement before it sets. Too much glue can look bulky; too little can cause lifting.
Pre-glued clusters remove that extra decision. They are made for the person who wants beautiful lashes before work, a dinner date or a last-minute night out, without building their plans around application time. You still get the creative freedom of clusters, but the process is far more straightforward.
That said, a pre-glued option is not necessarily for every single look. If you love very dramatic, extra-long lashes or want to customise a set with an intricate mix of lengths, a wider cluster collection may give you more scope. A starter set is about confidence, speed and getting a flattering result with minimal effort.
How to apply your pre-glued lash starter set
The best DIY lash application is not about rushing. It is about making the few seconds you spend placing each cluster count. Start with clean, dry natural lashes. Oil, skincare residue and heavy mascara can affect how well the pre-glued band grips, so keep the eye area fresh and avoid applying mascara first.
Use your applicator to lift one cluster gently from the tray. Look down into a mirror rather than straight ahead. This angle makes it easier to see your natural lash line and place the cluster underneath it, rather than directly onto the waterline.
Begin at the outer corner, where a little extra length creates an instant lifted effect. Place the first cluster just beneath your natural lashes, leaving a tiny gap from the inner waterline for comfort. Add the next cluster alongside it, working towards the centre of the eye. Press the cluster and your natural lashes together gently with the applicator to secure the bond.
For a natural first set, concentrate on the outer two-thirds of the eye. This gives definition without making the finished result feel too heavy. If you want a fuller look, continue towards the inner eye with shorter clusters. Shorter lengths at the inner corner keep the shape soft and help the lashes look like they belong there.
The placement rule that changes everything
Do not chase a perfectly straight line across the eye. Your natural lash line has a curve, and your clusters should follow it. If a cluster feels pokey, looks lifted or sits too close to the inner corner, remove it carefully and reposition it. One small adjustment is much better than spending the day trying not to blink.
It also helps to build the look in layers of intention. A wispy style can look beautifully effortless with fewer clusters, while a fuller volume style needs enough coverage to look even. Use the design of the lashes as your guide rather than automatically applying every cluster in the tray.
Choosing a starter set style that suits you
The right style is not always the biggest or darkest one. Think about the result you want when you catch yourself in the mirror: softly defined, wide awake, lifted, glam or full-on evening ready.
For everyday wear, choose a light wispy or natural style in shorter lengths. These styles add definition while keeping your own eye shape visible. They are ideal if you usually wear little makeup, are heading into the office or simply want people to notice your eyes rather than immediately notice your lashes.
For a subtle feline effect, look for a set that gets longer towards the outer corner. This shape works especially well when you want a lifted finish without using thick eyeliner. A rounded or doll-eye arrangement, with more length through the centre, can make the eyes appear brighter and more open.
If the occasion calls for more impact, choose fuller clusters with more volume and texture. Keep in mind that drama does not only come from length. A fluffy, spiky or layered design can create a striking finish even at a moderate length. For your first set, it is usually smarter to go a touch lighter than you think. You can always add more, but a comfortable, believable finish builds confidence quickly.
Lash Ribbons offers more than 90 cluster lash styles, so you can move from barely-there definition to a bolder, camera-ready finish without changing the ease of your routine.
Make your lashes last and look fresh
Once your lashes are in place, treat them gently. Avoid rubbing your eyes and keep oil-based cleansers, eye creams and makeup removers away from the lash line. Oil can interfere with the adhesive, while rubbing can shift clusters out of position.
When cleansing the rest of your face, use a careful approach around the eyes. A cotton bud or a small amount of oil-free cleanser lets you clean makeup away without soaking the lash band. Skip lash curlers too. Pre-glued lashes are already shaped for lift, and squeezing a curler over them can disturb the placement.
Wear time can vary based on your skin type, routine and how carefully you prep the eye area. A busy day, gym session, humid weather or an especially oily eye area can all make a difference. The goal is not to force lashes beyond their best wear, but to enjoy a clean, secure finish while they look their best.
When it is time to remove them, never pull. Hold the cluster close to the band and gently ease it away from the natural lashes. Be patient, especially if a section is still secure. Your natural lashes should always be the priority.
Common first-time mistakes to skip
The most common mistake is placing clusters too high on top of the natural lashes. This can make the band visible and stop the lashes from blending. Keep the clusters underneath the lash line for that clean extension-style finish.
Another is making both eyes match cluster for cluster, rather than matching the finished shape. Our eyes are not perfectly identical, and one eye may need a slightly different placement to achieve the same lifted effect. Step back from the mirror after each side and compare the overall balance.
Finally, do not apply lashes when you are already late. Even though pre-glued lashes are fast, your first application deserves a calm five minutes. Once you know your preferred lengths and placement pattern, getting ready becomes exactly what it should be: quick, easy and entirely on your terms.
Your first DIY set does not need to be perfect to look beautiful. Start with a style that feels like you, place each cluster with care, and let the mirror show you just how much confidence a few seconds can add.