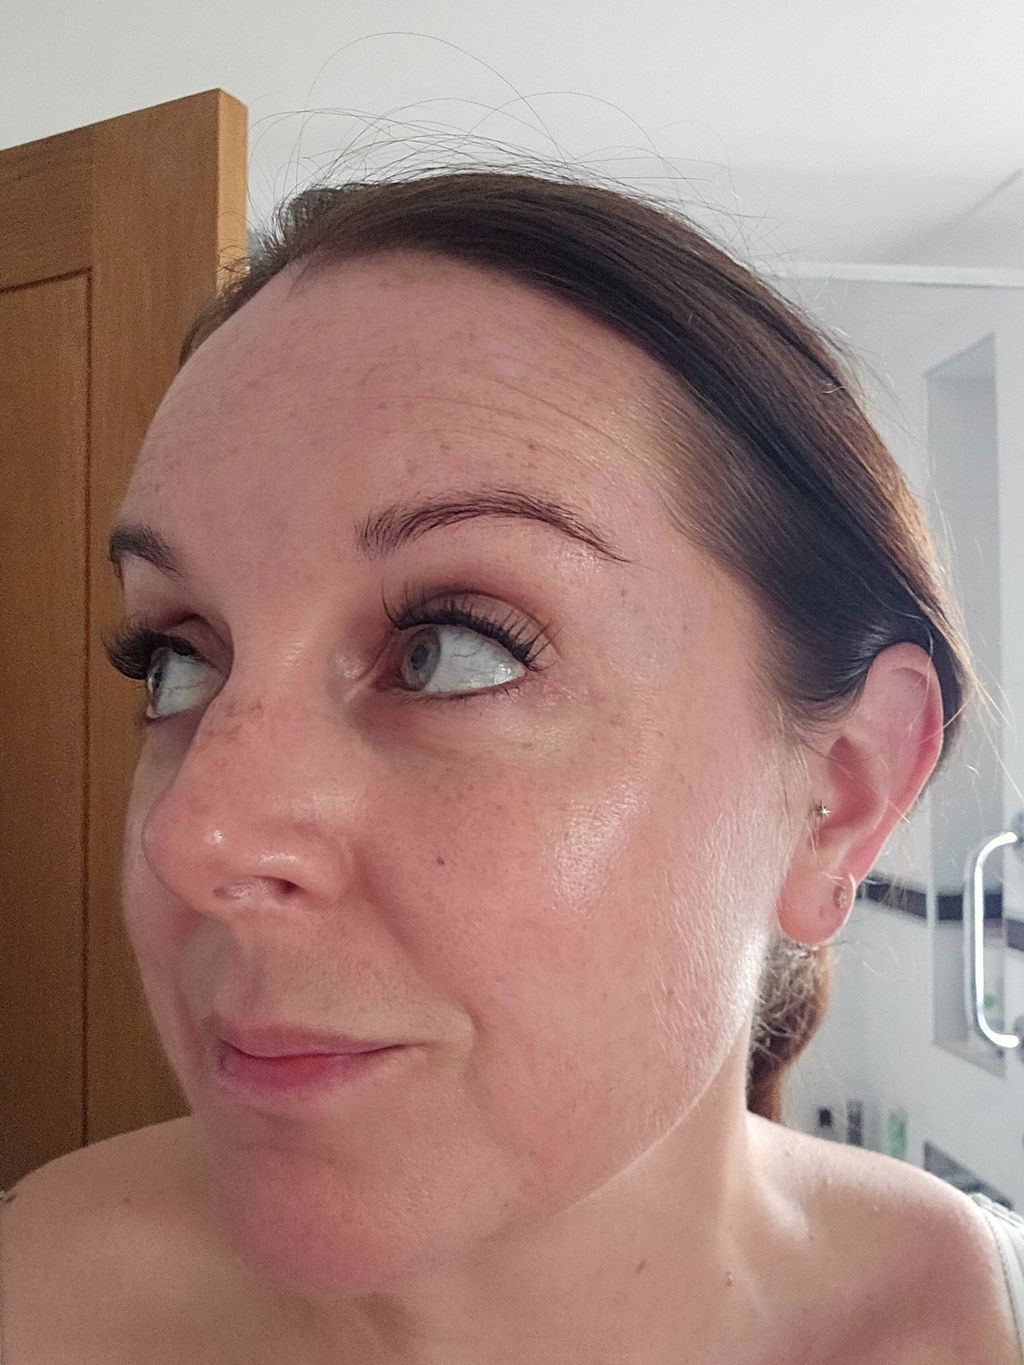
A lifted, salon-style lash look is less about using the longest clusters and more about where you place them. This underlash placement guide shows you how to apply cluster lashes beneath your natural lashes for a clean, comfortable finish that looks polished from every angle. Whether you want soft everyday definition or full glam for a night out, good placement gives you control over the final look.
Underlash application can feel unfamiliar the first time, especially if you are used to strip lashes sitting on top of the lid. The difference is worth it: cluster lashes placed underneath blend naturally at the lash base, with no obvious band sitting across your lid. Take your time for the first application, then enjoy a faster, easier routine once you know your eye map.
Start with the right underlash setup
Before applying anything, work on clean, dry lashes. Remove eye make-up, skincare residue and old adhesive so each cluster can sit close to the natural lash line. Oil-based products are particularly likely to affect grip, so keep them away from the eye area before you begin.
Set out your clusters in the order you plan to use them, along with a mirror, lash applicator or tweezers, and a small lash brush. A magnifying mirror can be useful for beginners, but do not work so close that you lose sight of the overall shape. You need to see both the lash line and the outer corner to create a balanced result.
If you are using pre-glued clusters, follow the wear guidance for that specific style and avoid adding extra bond unless the product instructions call for it. Their appeal is speed: the adhesive is already in place, so you can focus on positioning rather than dealing with a messy glue routine. For clusters that require bond and seal, apply a light, even layer of bond to the underside of your natural lashes, not directly onto your waterline.
Where underlash clusters should sit
The correct position is underneath your natural lashes, just above the waterline. Think of the cluster as hugging the base of your own lashes rather than resting on the wet inner rim of the eye. It should feel light and almost unnoticeable once secured.
Keep a tiny gap between the cluster and the waterline. Placing lashes too low can cause irritation, while placing them too high can make them visible when you blink and reduce the natural blend. You are aiming for the sweet spot where the cluster meets the underside of your lashes without touching the sensitive inner eye.
Do not begin at the very inner corner. That area is delicate, and a full cluster there can feel heavy or look too dramatic. Start slightly in from the inner corner, then build outward. Leave the final few natural lashes at each corner free if that makes the set feel more comfortable or suits your eye shape better.
Check your natural lash direction first
Natural lashes do not all point in exactly the same direction. Inner-corner lashes often angle forwards or downwards, while outer lashes may flick out. Before applying a cluster, look at the direction of the lashes beneath it and align the cluster with that movement.
This small adjustment prevents the tell-tale crossed-lash effect. If a cluster is fighting against your own lashes, remove it before it sets and reposition it. A few seconds of correction is better than trying to rescue an uncomfortable lash later.
Build your eye map from inner to outer corner
Most flattering sets use shorter clusters towards the inner eye, medium lengths through the centre, and the longest or most textured pieces near the outer third. This creates length without overwhelming the eye.
For a soft, open-eyed result, keep the longest clusters around the centre to outer-centre of the lash line, then taper slightly at the edge. This style works beautifully for rounder eyes and anyone who wants a bright, wide-awake effect.
For a lifted cat-eye finish, gradually increase length towards the outer corner. Do not automatically use the longest cluster available at the very edge, though. If your outer corner naturally turns down, an overly long final cluster can pull the whole eye down with it. In that case, place the longest cluster one section in, then finish with a slightly shorter piece.
A doll-eye map places the emphasis in the middle, while a natural map stays close to one or two similar lengths throughout. There is no single correct map. Your lid space, natural lash density and the occasion all matter. The best set is the one that looks intentional on your eyes, not simply the one that copies someone else's placement.
Underlash placement guide: the application method
1. Pick up one cluster carefully
Grip the cluster at the base, not through the fibres. Squeezing the lash fibres can distort the curl and create gaps in the finished set. Hold it so the band is easy to guide underneath your natural lashes.
If your pre-glued cluster has a protective backing, remove it carefully without touching the adhesive more than necessary. If you are applying bond, wait until it becomes tacky rather than placing the cluster onto wet product. Too-wet adhesive can slide, clump and transfer where you do not want it.
2. Look down into your mirror
Place your mirror below your face and look down slightly. This angle gives you a clear view of the underside of your natural lashes while keeping your eye mostly open. It is far easier than trying to apply a cluster with your eyelid closed.
Bring the cluster up from beneath the lashes and lay it gently into position. Start around the middle or just beyond the middle of the eye, where you have more space to practise. Once you are happy with the placement, press the cluster lightly against your natural lashes for a few seconds.
3. Work in small sections
Continue with one cluster at a time, moving across the eye according to your chosen map. Avoid overlapping every cluster heavily. A slight edge-to-edge connection usually gives the cleanest result, while too much overlap can create bulk and make the lash line look uneven.
Step back from the mirror after every two or three clusters. This is the easiest way to notice if one eye is becoming longer, fuller or more lifted than the other. Matching your eyes as you go is much quicker than trying to rebalance a finished set.
4. Seal and fuse with a gentle touch
Once all clusters are in place, use your applicator to gently press your natural lashes and the clusters together. This is often called fusing. Work along the lash line without pinching your skin or pulling at the clusters.
If your lash system includes a seal, use a very small amount only where needed. Too much product can leave lashes sticky, stiff or shiny. With pre-glued lashes, simply follow the product directions rather than assuming every set needs a separate sealing step.
The placement mistakes that change the whole look
The most common mistake is applying clusters directly onto the waterline. If you can feel a cluster scratching, poking or sitting inside the eye, remove it straight away and reposition it higher on the natural lash base. Lashes should enhance your eyes, not distract you from your day.
Another common issue is making every section the same length. Uniform length can work for a subtle look, but it may appear blocky with fuller styles. Use a gentle transition between lengths so the result looks airy and tailored rather than like separate pieces.
Avoid packing clusters too close to the inner corner. It can make the eye look crowded and may feel uncomfortable when blinking. Similarly, do not extend a cluster beyond your natural outer lash line just to chase extra length. A tiny extension can look elegant, but too much can make the band lift or exaggerate a downward eye shape.
If one cluster is visibly lower than the others, do not keep pressing it in the hope it will disappear. Carefully remove it and replace it. Clean placement is what makes DIY lashes look salon quality.
Make your underlash set last beautifully
The best aftercare depends on your chosen lash system and intended wear time. For longer-wear cluster sets, keep steam, water and oil-based cleansers away from the lashes for the recommended setting period. Avoid rubbing your eyes, sleeping face-down where possible, and using a lash curler over your finished set.
For a one-day pre-glued look, removal should be just as easy as application. Follow the product instructions and lift clusters away gently rather than tugging at your natural lashes. Never force a cluster off if it is still attached. A proper remover or cleansing step is kinder to your lash line.
Your first set may take a little longer, and that is completely normal. Start with a soft style and a simple map, then experiment with texture, length and lift once your hand feels steady. Lash Ribbons cluster styles make it easy to change the mood of your eyes without a salon booking - and the right placement is what turns that quick application into a look that feels completely yours.