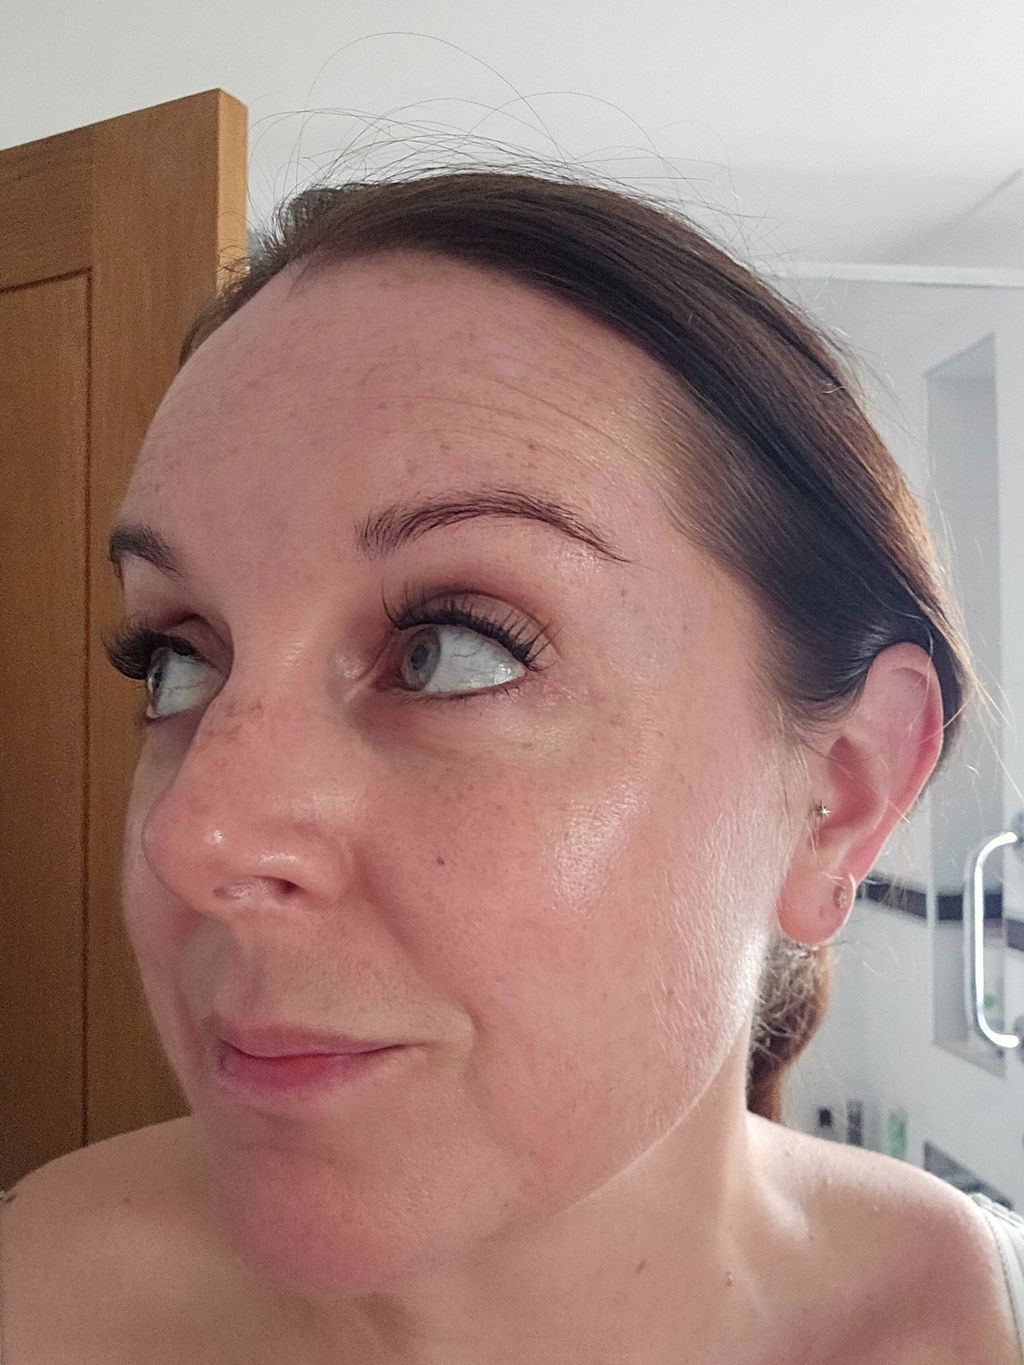
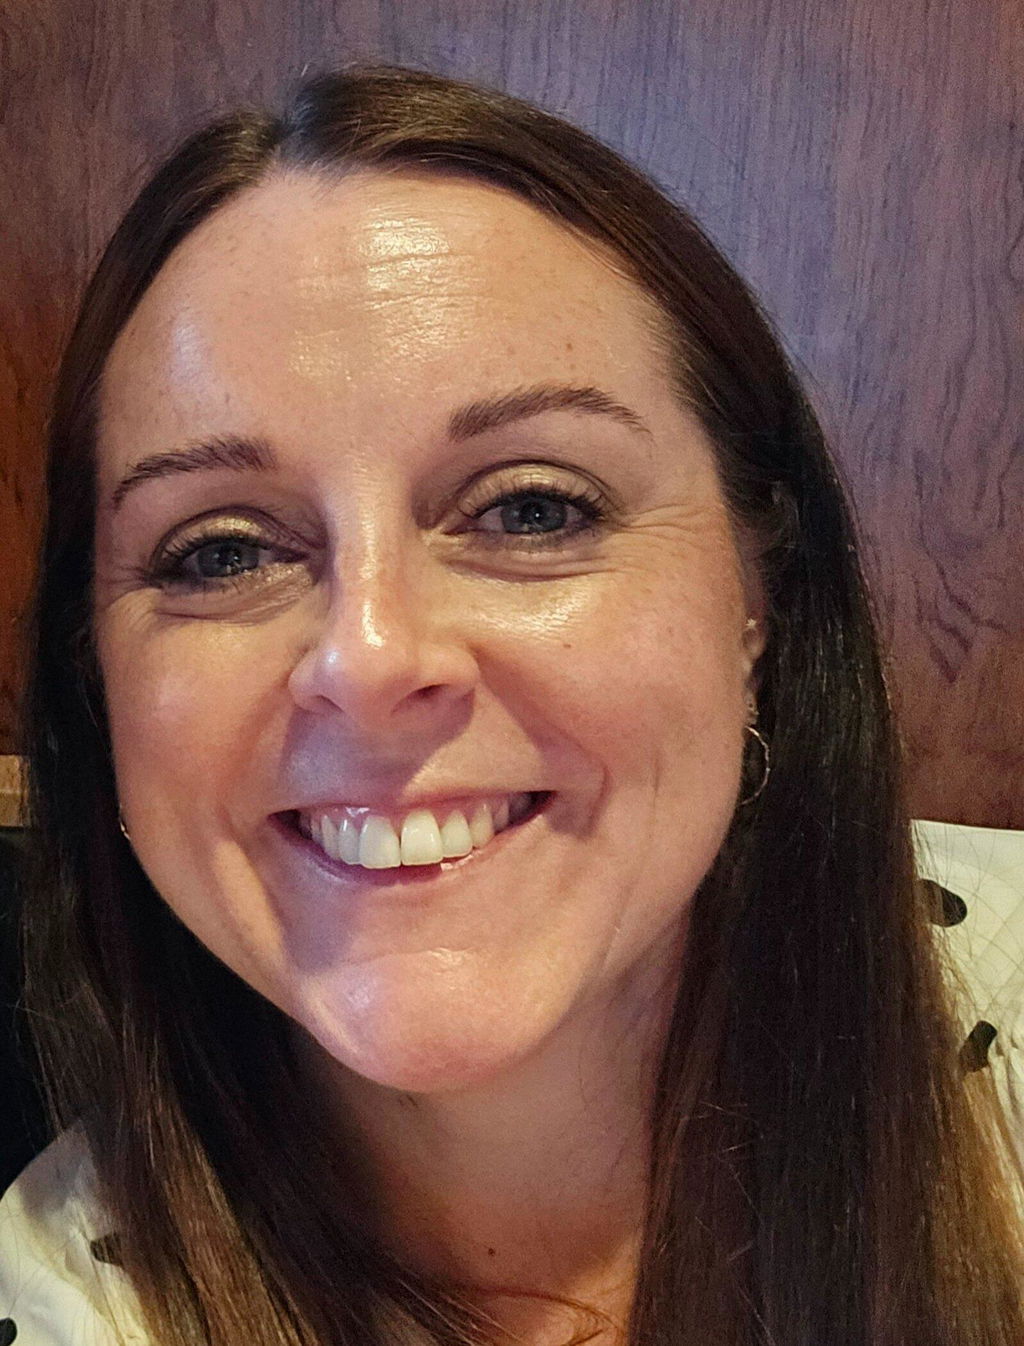
The difference between lashes that look effortlessly polished and lashes that feel too heavy is often just a few millimetres. This lash length selection guide takes the guesswork out of choosing your clusters, so you can build a flattering eye look that suits your features, your plans and your confidence level. Whether you want a soft everyday lift or full glam in minutes, the right length makes your DIY lashes look intentional.
Start with the look you want to create
Lash length is not about choosing the longest option available. It is about creating balance. A length that complements your natural lashes and eye shape will look fuller, fresher and more salon-style than extra-long clusters applied without a plan.
For a subtle, believable finish, shorter lengths are your best starting point. Clusters around 8mm to 10mm add definition at the lash line without changing your eye shape dramatically. They are ideal for work, daytime plans, first-time applications and anyone who prefers the look of naturally long lashes.
Medium lengths, usually around 10mm to 12mm, are the most versatile. They give noticeable volume and lift while still working beautifully with lighter makeup. If you are unsure where to begin, this is the sweet spot for an elevated everyday look.
Longer clusters from 12mm to 14mm and beyond create more impact. They are made for a fuller, flirtier finish, especially when paired with liner, shadow or a dressed-up evening look. The trade-off is that dramatic lengths need more careful placement. If they extend too far beyond your natural outer corner, they can pull the eye down rather than lift it.
Lash length selection guide: choose your starting point
Before building a map, look at your own lashes in the mirror. If your natural lashes are shorter or fine, jumping straight to the longest clusters can make the lash band more visible and feel less comfortable. Starting with a length that is only a few millimetres longer than your natural lashes usually creates the most convincing result.
A simple rule works well: use shorter clusters at the inner corner, build length gradually through the centre, then choose whether to keep the outer corner soft or add extra drama. A sudden jump from 8mm to 14mm can look harsh unless you are deliberately creating a bold, spiky style.
For beginners, a gentle progression such as 8mm, 10mm, 10mm and 12mm is easy to place and flattering on many eye shapes. Want a little more definition? Try 8mm, 10mm, 12mm and 12mm. The repeated length keeps the finish smooth rather than overly mapped.
It also helps to think in terms of the visible lash line, not just the number on the tray. A wispy 12mm cluster may look lighter than a dense 10mm cluster. Length creates the outline of your look, while curl, density and texture determine how bold it feels.
Match your lengths to your eye shape
There is no single perfect lash map, but your eye shape can point you towards lengths that create a balanced effect. The aim is never to change your features. It is to place the emphasis exactly where you like it.
For round eyes
If you want to elongate round eyes, keep the inner corner short and gradually add length towards the outer third. A soft cat-eye map, such as 8mm, 10mm, 11mm and 12mm, can create a more stretched appearance. Avoid making the final outer cluster dramatically longer than the rest, as this can make the eye look droopy.
For almond eyes
Almond eyes suit almost every lash length pattern, so choose based on the mood you want. A kitten-eye map with slightly longer outer lengths feels sleek and lifted. For a wide-eyed, doll-like finish, place your longest lengths just above the iris rather than at the very edge.
For hooded eyes
With hooded eyes, length through the centre often makes the biggest difference. Try placing your longest clusters from the centre to the outer-centre area, then step down slightly at the edge. This creates lift without hiding your eye behind a heavy strip of length. Choose styles with a noticeable curl too, as curl helps the lashes stay visible when your eyes are open.
For downturned eyes
Keep the outermost corner controlled. Long, dense clusters right at the edge can exaggerate a downward angle. Instead, peak your length just before the outer corner, using a map like 8mm, 10mm, 12mm, 11mm. The result is soft, lifted and still full enough for a polished finish.
For close-set or wide-set eyes
For close-set eyes, avoid heavy length at the inner corner. Start short and let your lengths build outward to draw attention away from the centre. For wide-set eyes, a little more inner-corner definition can bring the look into balance, but keep it light enough to stay comfortable and natural.
Choose lengths for the occasion, not just the trend
Your best lash length can change from a weekday morning to a Saturday night. A natural 8mm to 10mm combination is quick, polished and easy to wear with minimal makeup. It gives you that awake, put-together effect without feeling like a full glam commitment.
For dinner, events or holiday photos, medium-to-long lengths give your eyes more presence. Build towards 12mm or 14mm if you want your lashes to stand out in pictures, where subtle styles can sometimes disappear. If you are wearing a bold lip or a strong eyeliner wing, choose a lash shape that supports the makeup rather than competes with it.
For a statement look, mix lengths instead of applying the same long cluster across the whole eye. Alternating a longer wispy cluster with a shorter one creates texture and makes drama look more expensive. The goal is fluttery definition, not a solid block of lash.
Avoid the common length mistakes
The most common mistake is choosing one long length for the entire lash line. While it sounds simple, it can make inner corners feel uncomfortable and leave the eye shape looking flat. A shorter inner corner is nearly always more flattering and easier to wear.
Another mistake is extending clusters beyond your natural lash line. The outer corner may look dramatic for a moment, but the unsupported edge can lift, twist or make the eye appear downturned. Trim the map to fit your eye instead of forcing every cluster from the tray into place.
Do not judge your final look while looking down into a mirror. Check straight ahead with your face relaxed. This shows whether your longest point is lifting the eye, whether both sides match and whether the lengths feel proportionate to your brows and makeup.
Finally, remember that more length does not automatically mean more glamour. A well-placed 12mm style can look far more luxurious than an awkward 16mm cluster. Comfort, symmetry and a clean lash line are what make DIY lashes look professionally done.
Build your map before you apply
Lay out your clusters in order before application. It saves time, prevents mixing lengths midway through and makes both eyes easier to match. For pre-glued lashes, this small step means you can focus on placement rather than rushing with adhesive.
Apply from the outer corner or the centre, whichever gives you the most control, then work across in small sections. Keep each cluster close to the natural lash line and pinch gently once placed. If one length looks too strong, swap it before moving on. DIY lashes are meant to give you control, so use it.
Lash Ribbons makes it easy to experiment with different cluster lengths, whether you want a barely-there daytime look or salon-quality lash extensions with real evening impact. Start soft, assess your shape, then add length where it earns its place.
The best lash map is the one that makes you look in the mirror and feel instantly more like yourself, just with better lashes. Keep a note of the lengths that work for your favourite look, then you can recreate it in seconds whenever you need that extra polish.