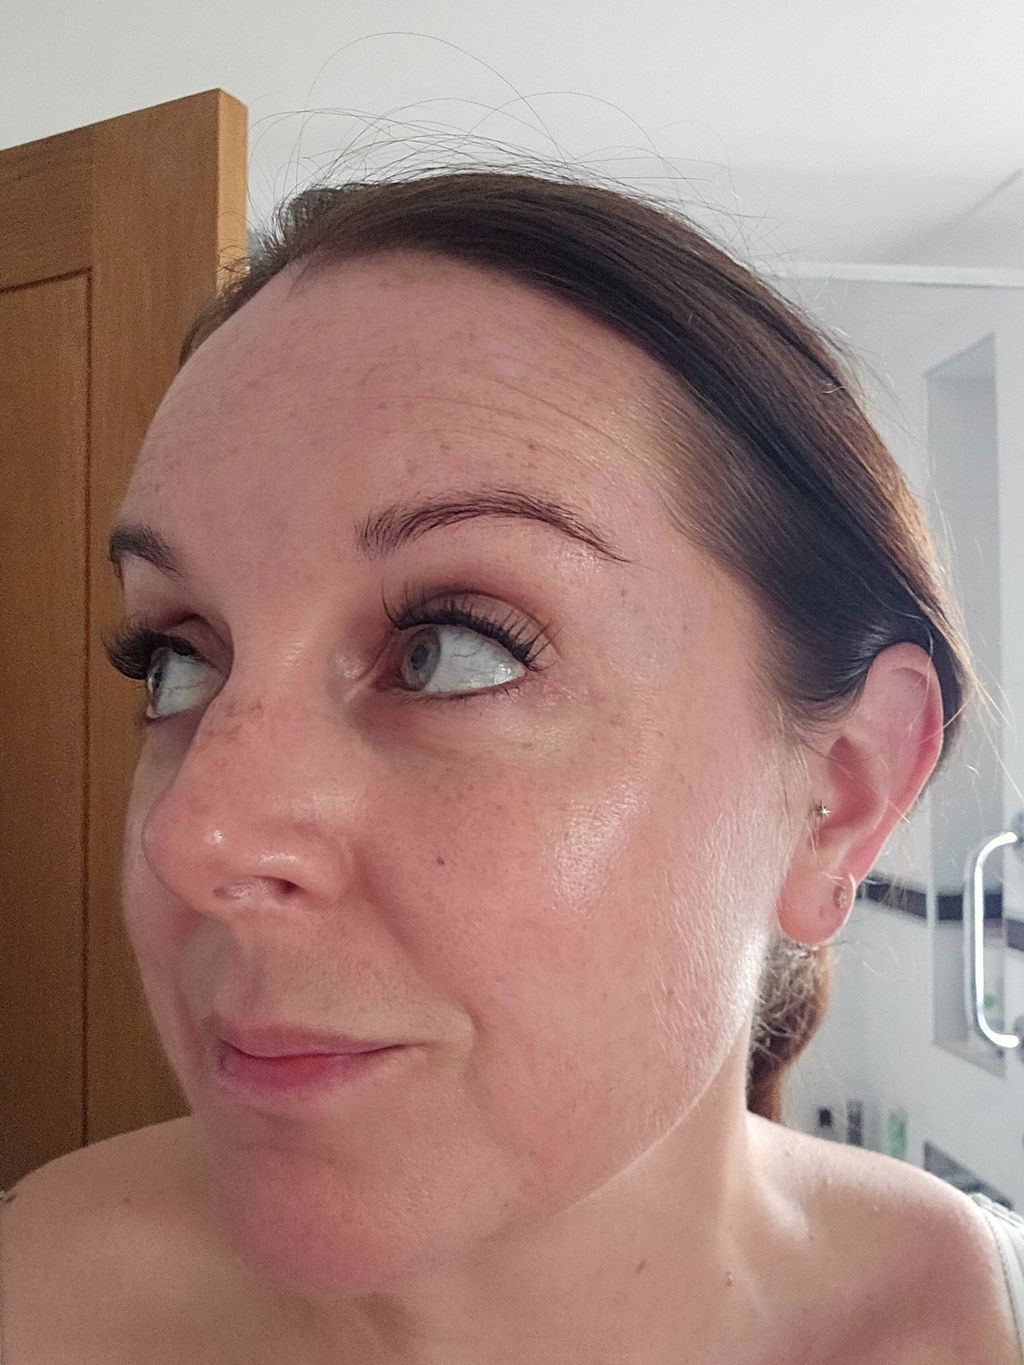
A natural lash set should not look like every cluster was cut from the same strip and placed in a straight line. The difference is in the detail: softly varied lengths, a flattering shape and enough texture to make your eyes look brighter without hiding them. Once you know how to layer cluster lashes naturally, you can create a salon-style result that still feels like you - whether you want a fresh everyday flutter or something fuller for a night out.
What makes layered cluster lashes look natural?
Natural-looking cluster lashes have movement. Your own lashes are not all the same length, thickness or direction, so a convincing DIY lash map should not be perfectly uniform either. Layering lets you combine subtle differences in length and fullness to create a softer, more dimensional finish.
The goal is not necessarily to use the shortest clusters available. It is to make the changes between lengths look gradual. A set that moves from 8 mm to 10 mm to 12 mm usually feels more believable than one that jumps straight from 8 mm to 14 mm. Keep the longest pieces where they flatter your eye shape, then use shorter clusters to blend the look into your natural lash line.
Density matters too. If you love a full lash, choose a fuller cluster style, but avoid placing the densest pieces across every section of the eye. Leaving the inner corner light and airy instantly makes a set feel less heavy. A little texture goes a long way when you want polished rather than obviously false lashes.
Think in soft transitions, not dramatic jumps
Layering is about control. You may use a medium cluster as your base, add one or two slightly longer pieces through the centre or outer third, then soften the ends with a shorter length. This gives you the lifted, multi-length effect associated with professional extensions without needing a salon appointment.
If this is your first time, work within a 2 mm length range. For example, pair 10 mm, 11 mm and 12 mm clusters. Once you feel confident, you can experiment with a more defined cat-eye or doll-eye map.
Start with a lash map that suits your eye shape
The most flattering placement depends on where your eyes naturally lift, widen and taper. Before applying anything, lay your chosen clusters out in order. This takes seconds and prevents you from reaching for lengths at random once application begins.
For an everyday, softly enhanced result, keep the inner corner short, build gently through the middle and taper slightly at the outer corner. A simple 8 mm, 10 mm, 11 mm, 10 mm map works beautifully for many eye shapes because it adds openness without pulling the eye outwards.
If you want a lifted cat-eye effect, use shorter clusters at the inner corner and build towards the outer third, such as 8 mm, 10 mm, 11 mm and 12 mm. The trade-off is that a very long outer corner can make downturned eyes appear lower. In that case, place your longest length just before the outer edge, then finish with a shorter cluster to keep the effect lifted.
For rounder or smaller-looking eyes, concentrate your longest pieces near the centre. This doll-eye placement gives the illusion of a more open eye. Keep the outer corner one step shorter so the shape remains soft.
Choose a style before adding more length
Length is only one part of the finished effect. A wispy cluster can look natural at a longer length because its fibres are separated, while a dense, dark cluster may appear much bolder at the same measurement. If you are after a barely-there finish, choose fine, lightweight clusters in a soft curl. For more definition, add volume through the middle rather than automatically choosing the longest option.
Lash Ribbons offers a wide choice of cluster styles, so you can build a map around the look you want instead of forcing one lash style to do every job. A lightweight, pre-glued cluster is particularly helpful when you want fast placement with less fuss from traditional lash glue.
How to layer cluster lashes naturally
Start with clean lashes and a clean lash line. Remove mascara, skincare and any oils from the eye area, then make sure everything is fully dry. Oils can affect grip and can make clusters shift before you have finished mapping the eye.
Build the base layer first
Apply your medium-length clusters first. Position each cluster just beneath your natural lashes, close to the waterline but never directly on it. This under-lash placement helps hide the band and creates the more natural, extension-style finish that many people want from cluster lashes.
Begin at the outer corner or centre, whichever feels easiest for you, and work in small sections. Do not worry if there is a tiny gap at first. It is easier to refine spacing once the base shape is in place than to remove and reposition a cluster that has been pressed down too firmly.
With self-adhesive or pre-glued lashes, follow the wear and application guidance supplied with your chosen set. The benefit is simple: no sticky glue blobs, no waiting around for adhesive to turn tacky and no need to rush through placement.
Add dimension with longer accents
Once your base is even, add a few longer clusters where you want lift or softness. For an everyday set, this may mean replacing one medium cluster in the centre with a longer wispy piece. For a fuller evening look, you can layer a lighter, longer cluster just above or beside your base pieces to create texture.
Avoid doubling every section. Too much layering can make the lash line look bulky, especially if your natural lashes are fine. Keep the extra length focused on two or three areas per eye. Step back from the mirror after each addition. If your eyes look brighter and the lash line still feels light, you are on the right track.
Finish the inner and outer corners gently
Corners are where a DIY set can either look beautifully blended or noticeably artificial. Use your shortest clusters on the inner corner and leave a little breathing room from the very start of the lash line. This feels more comfortable and stops the lashes from overwhelming the smallest part of your eye.
At the outer corner, choose based on your map. A shorter finishing piece creates a soft, tapered result. A longer finishing piece adds drama, but it needs to sit at the same angle as your natural lashes rather than pointing straight out to the side.
When every cluster is in place, gently press the lashes together using your applicator. This helps secure the bond and blends your natural lashes with the clusters. Use a light hand - squeezing too hard can distort wispy fibres or make a fluffy style look flat.
Small mistakes that can make a set look less natural
The most common issue is making every section equally long. Even a gorgeous lash style can look strip-like if it has no variation. Instead, let your eye shape lead the placement and keep changes subtle.
Another mistake is placing clusters too far below the natural lash line. This can leave visible gaps and make the set feel less secure. Get close to the roots without touching the waterline, and use a mirror positioned slightly below eye level so you can see exactly where the cluster is sitting.
Finally, resist the urge to overfill. If one eye looks a little lighter than the other, add a single cluster rather than several. Natural layering is about strategic detail, not maximum coverage. Often, the best finishing touch is removing one piece that looked perfect in the tray but feels too heavy once it is on the eye.
Match your layered set to the occasion
For work, errands or low-makeup days, use a close length range and airy clusters. A soft 8 mm to 11 mm map gives definition without changing your features. Pair it with brushed brows and a touch of concealer for the sort of put-together look that takes minutes.
For dinner, events or holiday photos, keep the same flattering map but increase texture. Add a few longer wisps, choose a fuller cluster through the outer third or make the centre slightly more open. You will get a more noticeable result without losing the careful, natural-looking shape you created.
Layering also gives you more freedom than a single pre-made strip. You can keep your favourite inner-corner shape, change the outer-corner length and make each new set suit your make-up, mood and plans.
A great lash set should make getting ready feel easier, not more complicated. Start light, build only where your eyes need it and trust the small details - they are what turn at-home cluster lashes into a finish that looks effortlessly yours.