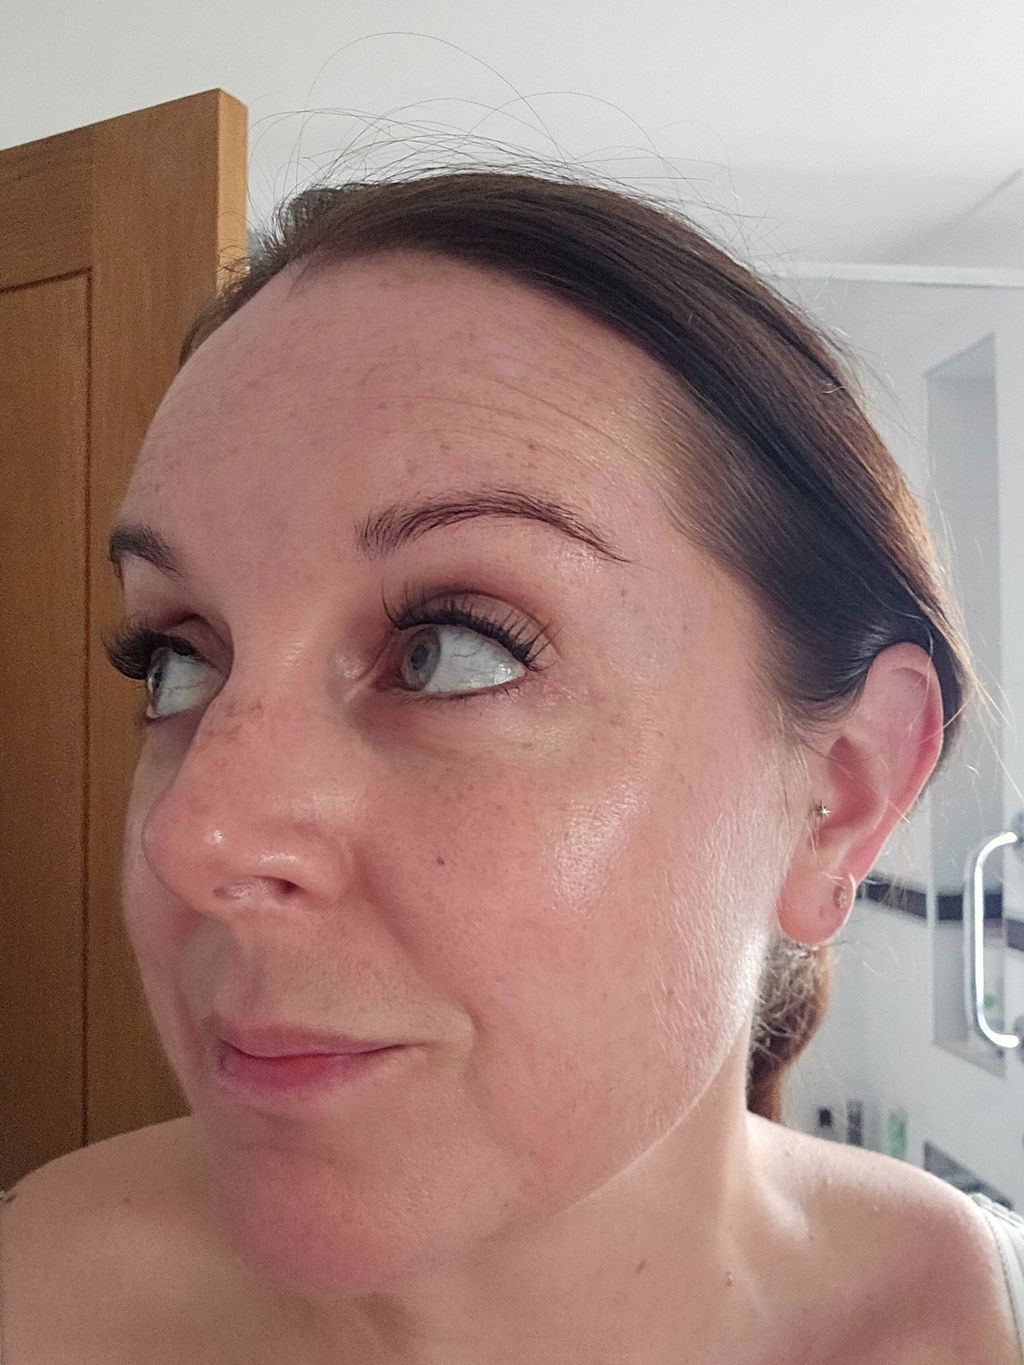
A polished lash look should take minutes, not a mirror full of retries. Most lash application mistakes come down to small details: placing lashes too high, choosing a band that is too long, or rushing the prep. Fix those details and your lashes can look fuller, lifted and beautifully believable from every angle.
1. Applying lashes without preparing your natural lash line
Lashes need a clean, dry base to sit comfortably and stay put. If skincare, SPF, concealer or mascara has collected along the lash line, even the easiest self-adhesive lash can struggle to grip as it should.
Before application, make sure the eye area is dry and free from oil. A quick sweep along the lid and natural lash line is usually enough. If you wear eye cream, allow it to sink in fully before starting your makeup. This is especially useful for a long day, a night out or an event where you want your look to stay fresh.
There is a balance here. Do not over-powder the eye area in an effort to create a dry surface, as heavy powder can gather around the lashes and make the finish look less clean. The goal is simply a fresh, residue-free lash line.
2. Skipping the size check
A false lash that extends too far towards the inner corner can feel scratchy, lift early and make the eye look crowded. A lash that is too wide at the outer corner may pull the whole band away from the lid. Neither issue means the style is wrong for you - it usually means it needs a little adjustment.
Hold the lash or cluster just above your natural lash line before committing to placement. The inner edge should begin just after the inner corner, where your natural lashes start to become visible. At the outer edge, stop before your natural lash line ends.
With strip lashes, trim from the outer edge in tiny increments if needed. With cluster systems, customise the map instead. A shorter segment at the inner corner and a slightly longer one towards the outer corner can create a soft, flattering lift without weighing the eye down. This is one of the biggest advantages of at-home clusters: you are not locked into one fixed shape.
3. Placing the lashes on the skin, not the lash line
The most common placement error is setting the lash too high on the eyelid. From the front it may look acceptable, but from the side there is often a visible gap between the false lash and your natural lashes. That gap can catch light, reveal the band and make the lash feel less secure.
Aim to place the lash as close to your natural lash roots as you comfortably can. Look slightly down into a mirror rather than straight ahead. This angle gives you a clear view of the lash line and makes it far easier to press the lash into position.
For underlash cluster styles, follow the system instructions and attach each segment beneath your natural lashes, rather than directly on the waterline. Keeping the product away from the waterline improves comfort and helps you avoid irritation. If a segment feels pokey, remove and reposition it rather than trying to tolerate it.
4. Trying to apply every cluster in one go
A full cluster map can look effortless once it is finished, but it is much easier to build in controlled sections. Rushing to place several segments at once can lead to uneven spacing, crossed natural lashes or a style that sits lower at one end than the other.
Start at the outer corner or centre of the eye, depending on the look you want. Then work across in small sections, checking the mirror after each placement. Use gentle pressure to secure each cluster before moving on. This gives you time to spot a gap or uneven angle while it is still simple to correct.
You do not need to copy the exact same map every time, either. A natural everyday look might use shorter lengths through the inner and centre eye, while a fuller evening look can build more volume at the outer corner. The best map is the one that suits your eye shape, comfort and plans.
5. Choosing a style that fights your eye shape
The boldest lash is not automatically the most flattering lash. Very long, dense clusters can hide the lid space on smaller or hooded eyes, while an extremely dramatic cat-eye can make downturned eyes appear lower at the outer corner.
For an easy lifted effect, keep the inner corner light and add length gradually towards the outer third of the eye. If your eyes are hooded, choose styles with soft definition and avoid placing the longest cluster too far out, where it can drag the eye down. Rounder eye shapes often suit a balanced map with the longest lengths around the centre to outer-centre area.
That said, rules are only a starting point. If you love a bold finish, wear it. The difference between a deliberate statement look and an accidental heavy look is thoughtful placement. With more than 90 cluster lash styles, Lash Ribbons makes it easier to switch your finish for a workday, date night or full-glam occasion.
6. Using too much adhesive, or treating pre-glued lashes like traditional strips
Traditional lash glue is one reason many people find false lashes messy and time-consuming. Applying too much can create a wet, slippery band that moves around the lid, while too little may not give reliable hold. Waiting for the right tackiness also adds another step to your routine.
Pre-glued lashes and self-adhesive systems simplify the process because the adhesive is already where it needs to be. Do not add extra glue unless the product directions specifically tell you to. Extra adhesive can affect placement, collect debris and make removal more difficult than necessary.
If you are new to at-home lashes, convenience-led pre-glued options are often the most forgiving place to start. You can focus on position and style rather than managing a separate glue bottle. The result is a faster route to salon-quality lash extensions without a salon appointment.
7. Pressing too hard with your fingers
Firm pressure helps lashes bond, but squeezing too hard can bend delicate fibres, distort a cluster or press the lash into an uncomfortable position. It can also transfer skincare or makeup from your fingertips onto the adhesive area.
Use clean lash applicators or tweezers designed for lash application where possible. Hold the cluster gently from the centre or outer edge, place it, then press it into the natural lashes with light, steady pressure. A final gentle pinch can marry the false and natural lashes together for a more natural finish.
If you use your fingers, wash and dry your hands first. The less product you transfer, the cleaner your application will be.
8. Forgetting to check both eyes before you leave the mirror
One eye can look perfect while the other sits a millimetre higher, wider or more angled. Those tiny differences are easy to miss when you are concentrating on one side at a time, but they are noticeable in photos and in daylight.
Step back from the mirror once both eyes are complete. Look straight ahead, then turn your face slightly to each side. Check that the inner corners begin at a similar point, the outer corners lift at the same angle, and the lengths feel balanced. If one cluster is out of line, adjust it immediately rather than layering another over the top.
This quick check also catches loose corners before they become a problem. It takes seconds and can make the difference between lashes that look applied and lashes that look naturally part of your finished makeup.
9. Removing lashes too quickly at the end of the day
A great lash routine includes gentle removal. Pulling at a strip or cluster can tug on your natural lashes and leave the eye area feeling sore. If a lash does not lift easily, pause rather than pulling harder.
Follow the removal guidance for your chosen lash system, using the recommended remover or a gentle product suitable for the eye area where appropriate. Work slowly from the outer corner and support the eyelid with a clean finger. Once removed, clean the lash line of any remaining residue and store reusable styles carefully if their instructions allow reuse.
Beautiful lashes are not about getting every step perfect on the first try. Give yourself a few calm minutes, make small adjustments and choose a style that feels like you. The right system should make your routine feel quicker, your eyes look more defined and your beauty confidence feel effortless.