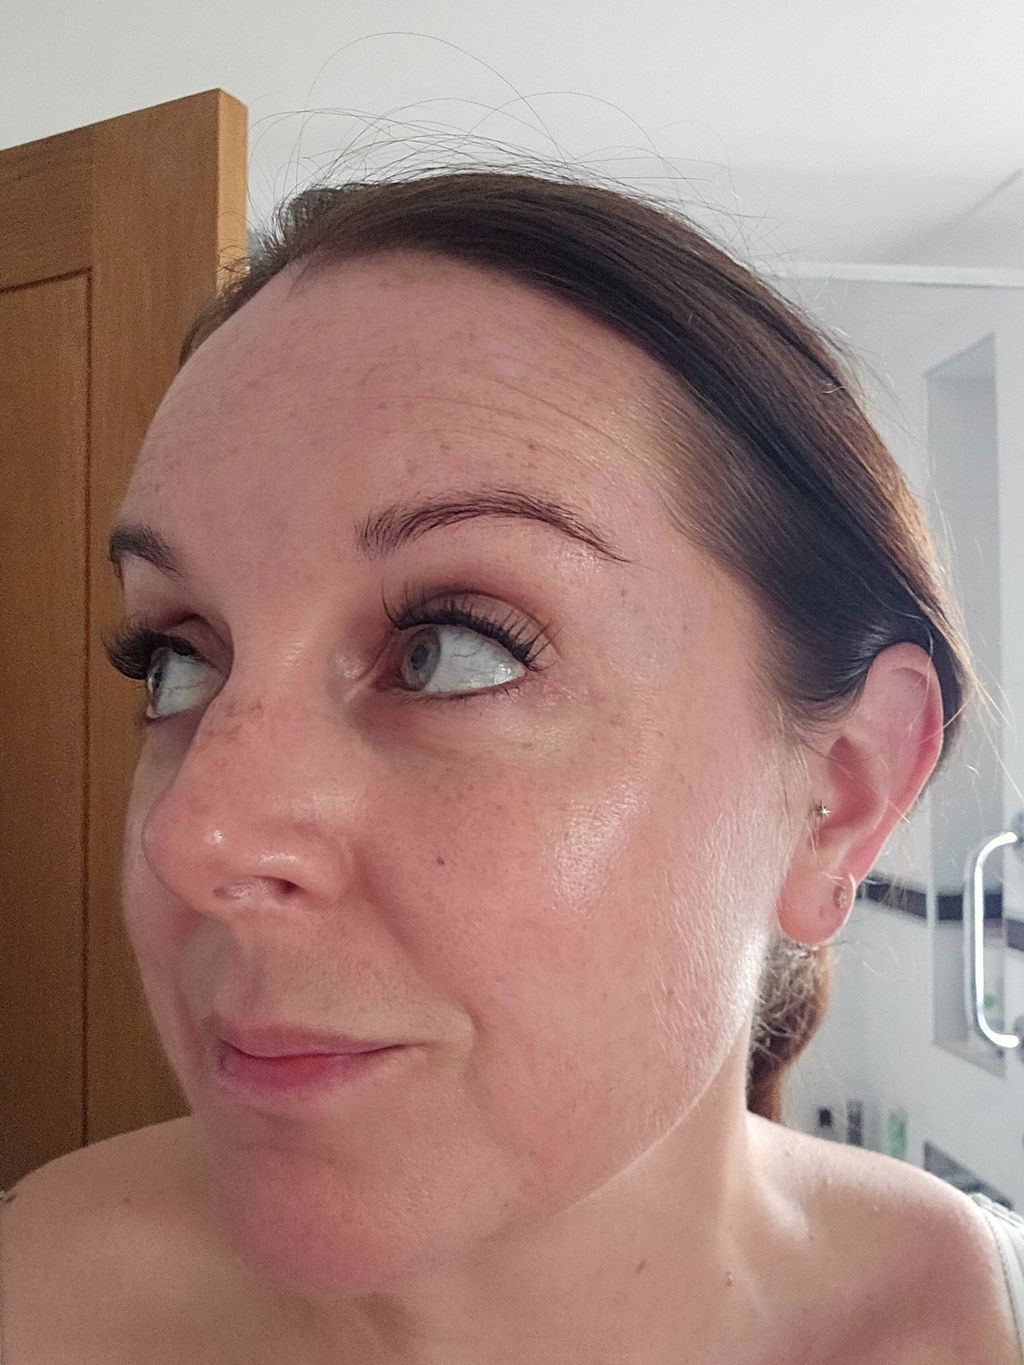
A great lash look rarely comes down to the lash alone. When clusters lift early, feel uncomfortable or sit unevenly, the issue is often what is already on the lid and lash line. Learning how to prep eyelids for adhesive lashes takes only a few minutes, but it makes application faster, cleaner and far more reliable.
Whether you are wearing self-adhesive lashes for a quick everyday lift or building a fuller cluster set for a night out, the goal is the same: start with a clean, dry, comfortable eye area. Think of it as the small step that helps your lashes look more polished from the first cluster to the final one.
Why eyelid prep changes your lash results
Your eyelids naturally produce oil throughout the day. Add moisturiser, SPF, eye cream, concealer, powder fallout or traces of yesterday's mascara, and you have a surface that can interfere with adhesion. Even the best adhesive strip needs a clean base to grip properly.
Prep also helps you see your natural lash line clearly. That matters when placing individual clusters, because positioning them close to the roots creates the salon-style finish you want without putting adhesive directly onto the skin.
There is a balance, though. Over-cleansing or using harsh products around the eyes can leave the area feeling tight and irritated. You want lids that are fresh and oil-free, not stripped.
How to prep eyelids for adhesive lashes
Start with clean hands and a fresh face
Wash and dry your hands before touching your eyes, lashes or applicator. Oils from your fingertips can transfer surprisingly easily, especially when you are adjusting small lash clusters.
If you are applying lashes as part of a full makeup look, do your complexion makeup first where possible. Keep creamy products away from the upper lash line until your lashes are in place. A slick of concealer right at the roots may look harmless, but it can reduce the grip of adhesive lashes.
Remove oil, skincare and makeup residue
Use a gentle, oil-free cleanser or micellar water on a cotton pad to clean the eyelid and lash line. Sweep lightly across the lid and underneath the eye rather than scrubbing. If you have worn eye makeup, take your time here. Leftover eyeliner, mascara and waterproof makeup are common reasons lashes refuse to sit flat.
For a particularly oily eyelid area, follow with a small amount of oil-free cleansing water on a clean cotton bud and carefully trace along the lash line. Keep your eyes closed and avoid getting product in them. The aim is a clean lash line, not a soaking-wet one.
Oil-based balms and biphasic makeup removers are brilliant for breaking down stubborn makeup, but they are not ideal immediately before applying adhesive lashes. If you use one, cleanse again afterwards so no oily film remains.
Dry the area completely
This is where rushed routines can go wrong. Adhesive and moisture are not a good match, so give your lids a moment to air dry after cleansing. Gently pat with a clean tissue if needed, but do not rub your natural lashes.
Check that your lash line feels dry before you begin. If you have just showered, exercised or come in from wet weather, wait until your skin has fully settled. Applying lashes onto warm, damp skin can make placement more fiddly and shorten wear time.
Keep eye cream below the orbital bone
You do not need to skip skincare altogether. Just be strategic. Apply eye cream sparingly and keep it below the orbital bone, away from your upper lash line. Rich formulas can migrate upwards as they warm on the skin, so give your skincare a few minutes to absorb before starting your lashes.
The same rule applies to facial moisturiser and SPF. These are essentials, but a little product too close to the lashes can create a slippery surface. If your lids tend to become shiny, lightly blot them with a tissue before application.
Curl natural lashes if you need extra lift
If your natural lashes point straight down, a quick curl can help adhesive clusters blend more naturally. Always curl clean, bare lashes before applying any false lash. Once clusters are attached, avoid using a lash curler, as pressure can damage both the lash band and your natural lashes.
You do not need a dramatic curl. A soft lift makes it easier to place clusters close to the roots and helps the finished look open up your eyes.
Avoid mascara before application
For the cleanest application, apply adhesive lashes to mascara-free natural lashes. Mascara can make the roots clumpy, create a barrier between the adhesive and your natural lash line, and make removal less pleasant later.
If you love the look of mascara, apply a very light coat to your lower lashes only once your upper lashes are complete. For upper lashes, choose a style with enough length and volume to give you the finished effect without extra product.
Prep changes slightly by lash type
Pre-glued and self-adhesive lashes are designed for speed, so clean, dry lids are usually all you need. Avoid adding primer or extra glue unless the instructions for your chosen lash system specifically call for it. More product does not automatically mean better hold, and it can make a fast routine unnecessarily messy.
With cluster lashes that use a separate bond, preparation still matters, but precision becomes even more important. Place bond only where directed, in a thin, controlled layer. Too much product can feel heavy, stick neighbouring lashes together and leave you with less flexibility when placing the cluster.
For an underlash application, focus your cleansing on the underside of your natural lashes as well as the lid. Use a clean spoolie to brush through and check that there is no mascara, powder or skincare residue at the roots. This small detail can make placement feel much easier.
Common prep mistakes that cause lifting
If your lashes lift from the inner or outer corner, do not assume the style is wrong for you. Often, a tiny bit of oil, moisture or makeup is the real culprit. The inner corner is especially prone to watery eyes and skincare migration, while the outer corner can pick up foundation or setting powder.
Another common mistake is using too much setting spray before lash application. Let setting spray dry fully, then check the eye area. If it feels tacky or damp, wait a little longer. Similarly, avoid applying lashes immediately after using an eyelash serum. Serums can condition the natural lashes beautifully, but many leave a finish that is better suited to an evening routine than a pre-lash routine.
Finally, resist repeated repositioning once adhesive is engaged. Dry-fit your clusters first if you are unsure of placement, then attach with a steady hand. Constantly lifting and replacing a cluster can transfer oils and weaken its hold.
A fast pre-lash routine for busy mornings
On days when you want polished lashes in minutes, keep the routine simple. Cleanse any residue from the lid and lash line, let the area dry, curl bare natural lashes if desired, then apply your chosen style. That is it.
This is exactly why convenient lash systems earn their place in a busy beauty routine. You can get a soft, lifted everyday look before work or build a more defined set before dinner, without waiting for glue to become tacky or booking a salon appointment. Lash Ribbons styles give you the freedom to choose the finish, while good prep gives you the clean canvas to make it last.
When to pause your lash routine
Do not apply adhesive lashes over sore, swollen, broken or irritated skin. Wait until the eye area feels normal again. If you are trying a new adhesive product, follow its instructions and consider a patch test where recommended.
If your eyes become itchy, painful or unusually red during wear, remove the lashes gently and stop using the product. Beauty should feel confidence-boosting, never uncomfortable.
The best eyelid prep is not complicated or time-consuming. It is simply a clean, dry lash line and a few smart choices about what stays away from it. Give yourself those extra minutes, and your lashes will have the polished, secure finish that makes the whole look feel effortless.