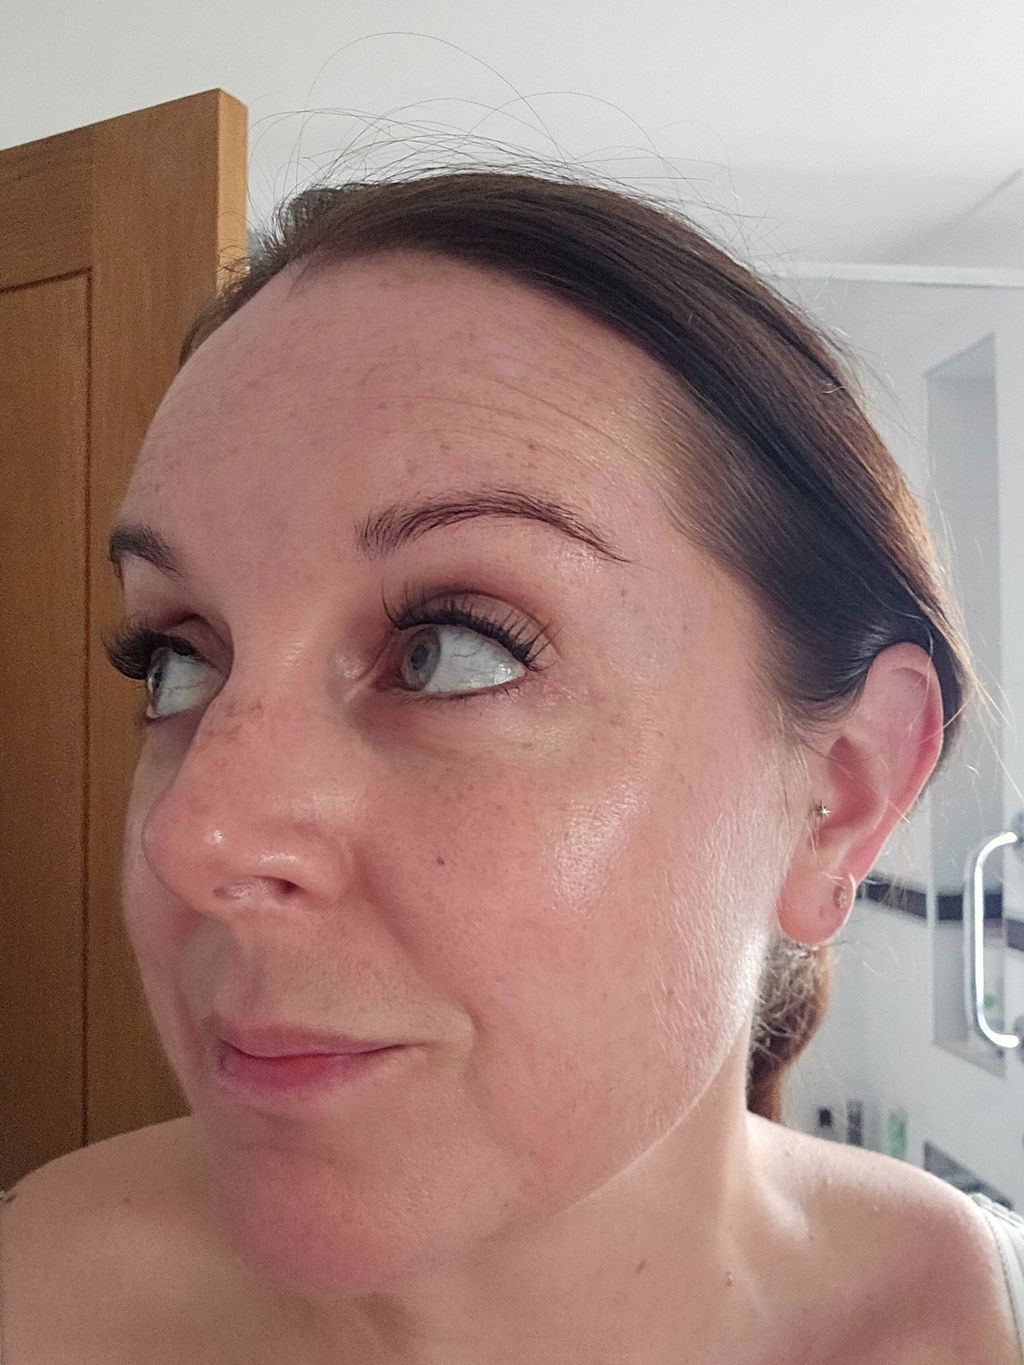
If you have ever spent more time wrestling with lash glue than actually doing your make-up, this is the shortcut you have been looking for. Learning how to apply pre glued lashes for beginners is less about perfect technique and more about a few smart habits that make the whole process quicker, cleaner and far less intimidating.
Pre-glued lashes are designed to cut out the fiddliest part of lash application. There is no measuring out sticky glue, waiting for it to go tacky, or dealing with a wonky strip sliding across your lid. For beginners, that means less mess, less guesswork and a much faster route to a polished eye look that still feels achievable at home.
Why pre-glued lashes are easier for beginners
The biggest reason beginners struggle with false lashes is not the lash itself - it is the adhesive. Traditional glue can go on too wet, too dry, too thick or too unevenly. Pre-glued lashes simplify that entire step, which is why they are such a strong choice if you want salon-style impact without salon-level effort.
They are also ideal if you want more control. You can focus on placement rather than juggling glue timing, and that usually leads to a neater result. If you are new to DIY lashes, that confidence boost matters. A product that feels easy to use is one you are actually likely to wear.
That said, easy does not mean careless. Pre-glued lashes still need proper positioning, and the best finish comes from taking a minute to prepare your eyes and choose the right style.
How to apply pre glued lashes for beginners step by step
Start with clean lids. If there is moisturiser, oil or leftover make-up sitting along the lash line, the adhesive will have a harder time gripping properly. A quick cleanse or wipe across the eye area helps the lash sit more securely and stay comfortable for longer.
Before placing anything on your eye, check the fit. Hold the lash gently against your natural lash line without pressing it down fully. You want it to start just after the inner corner and finish before the very outer edge of your lid. If the band is too long, trim a small amount from the outer end. Tiny adjustments make a big difference, and trimming from the outer edge keeps the shape flattering.
Once the fit looks right, lift the lash from its tray carefully so you do not bend the band out of shape. If you are using a cluster-style pre-glued lash, the same principle applies - handle it gently and keep the adhesive strip intact.
Now place the lash as close to your natural lash line as possible. The easiest method for beginners is to position the centre first, then press down the outer corner, then the inner corner. Doing it in that order gives you more control and helps stop the band twisting. Use clean fingers or a lash applicator, whichever feels steadier in your hand.
After placement, press lightly along the lash band to secure it. Focus on the areas that tend to lift first, usually the inner and outer corners. Give it a few seconds to settle rather than blinking rapidly straight away.
If needed, blend your natural lashes into the false lash with a very gentle squeeze. A light coat of mascara can help in some cases, but with many pre-glued styles, especially fuller ones, you may not need it at all. The goal is an effortless finish, not adding extra steps for the sake of it.
What beginners often get wrong
The most common mistake is placing the lash too high above the natural lash line. That creates a gap you can see when your eyes are open, and it often feels less secure too. If the lash does not look quite right, check the position before assuming the style is the problem.
Another issue is choosing lashes that are too dramatic for a first attempt. Full volume looks can be stunning, but they can also make application trickier because the band feels more noticeable and the shape is bolder. If you are just starting out, a lighter style or a soft cluster set is often easier to place and easier to wear.
Rushing the fit check is another beginner trap. Even the best pre-glued lash will look off if it is too long for your eye shape. A quick trim can take your lashes from awkward to seamless.
Choosing the right lash style for your eye look
Not every beginner needs the same lash. If you want a natural daytime finish, look for shorter or wispy styles that add definition without overwhelming the eye. These are brilliant for work, brunch, everyday glam or anyone who wants lashes that still look believable up close.
If your goal is more impact for evenings, events or content creation, fuller styles can give that lifted, polished finish in seconds. The trade-off is that bold lashes are more visible, so placement needs to be a little more precise. They are still beginner-friendly, but a softer style is often easier for a first try.
Cluster lashes can be especially useful if strip lashes feel daunting. They let you build the look section by section, which gives you more flexibility. You can keep it subtle by adding a few pieces to the outer corner or create a more complete effect across the eye. That custom feel is one reason so many at-home users prefer them.
How to make pre-glued lashes last better
Pre-glued lashes are all about convenience, but a few simple habits can improve wear time. The first is keeping the lash line clean and dry before application. Oil is the enemy of adhesion, so avoid heavy skincare right around the eye area.
The second is pressing the lash in properly once it is placed. Not aggressively, just firmly enough to make sure the band connects evenly across the lid. If one section is not attached well, it is usually only a matter of time before it starts lifting.
It also helps to avoid touching your lashes throughout the day. The more you fiddle, the faster you break down the hold. If you are wearing them for a special event, apply them before the rest of your eye make-up is fully finished so you can tidy and blend as needed.
If the lash will not stick properly
First, do not panic and do not keep layering random products on top. If a pre-glued lash is not sticking, the issue is usually one of three things: the lid is too oily, the placement is off, or the adhesive has picked up fluff, powder or residue.
Remove the lash carefully and check the band. If it has debris on it, it will not grip as well. Make sure your lids are clean, then try again with precise placement close to the natural lash line. Often, the second attempt goes much more smoothly because you already know the angle and position that works for your eye.
If the inner corner keeps lifting, the lash may still be slightly too long. Trim a tiny amount from the outer end and reapply. That small tweak often solves what looks like an adhesion problem but is really a fit problem.
How to apply pre glued lashes for beginners without making them look obvious
A natural finish usually comes down to three details: choosing the right style, trimming for your eye shape and placing the lash close enough to your natural lash line. When those three things are right, the lashes look polished rather than pasted on.
You can also use eyeliner to soften the transition if you want an extra blended effect. A thin line along the upper lash line helps disguise the band and makes the look feel more intentional. This is especially useful if you are wearing a fuller lash or still building confidence with placement.
For many beginners, less really does look better. You do not need the most dramatic lash in the tray to get noticeable results. Well-placed, flattering lashes always beat overly heavy lashes that do not suit your eye shape or comfort level.
Building confidence with at-home lashes
The good thing about pre-glued lashes is that they reward practice quickly. You do not need weeks to get better. Usually, after a couple of tries, your hands learn where the lash should sit and the whole routine starts to feel surprisingly fast.
That is exactly why convenience-led products have changed the game for at-home beauty users. When the process is easier, you are more likely to experiment with different looks, wear lashes more often and actually enjoy the results. Brands such as Lash Ribbons have leaned into that idea for good reason - speed and simplicity are not just nice extras, they are what make salon-quality lashes feel realistic for everyday life.
If you are starting from scratch, keep your first attempt simple. Choose a wearable style, give yourself good light and a mirror you can hold close, and focus on fit before anything else. Once you see how quickly pre-glued lashes can transform your eye look, the whole thing stops feeling tricky and starts feeling like one of the easiest steps in your routine.
The best lash application is not the one that looks most complicated - it is the one that makes you feel instantly more put together without slowing you down.