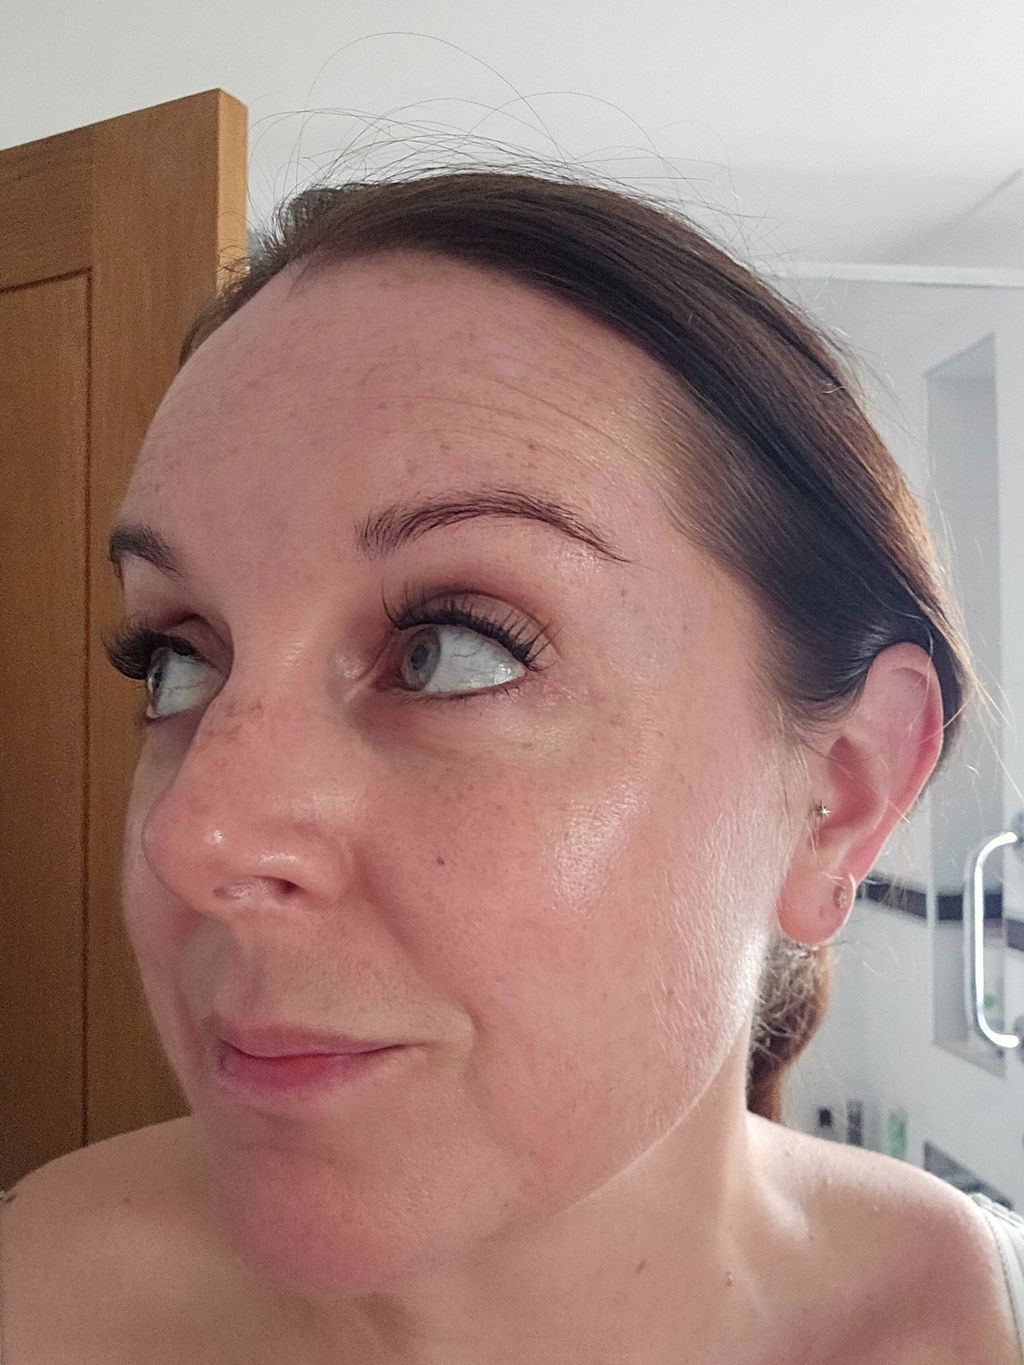
A fresh set of clusters should make getting ready feel quicker, not leave you counting lashes on a cotton pad afterwards. Cluster lash damage is rarely caused by one thing alone. More often, it comes down to heavy application, poor removal, wearing lashes beyond their recommended time, or using products that do not suit your eyes.
The good news is that DIY lashes do not have to mean compromising your natural lashes. With the right style, placement and removal routine, you can enjoy a full, salon-quality look at home while treating your lash line with care.
Can cluster lashes damage your natural lashes?
Cluster lashes are not automatically damaging. Natural lashes have a growth cycle, so seeing a few lashes shed over time is completely normal, with or without false lashes. The problem starts when a cluster is stuck to several natural lashes, bonded too close to the skin, pulled away forcefully, or left on while the adhesive is breaking down.
A cluster should sit comfortably and feel lightweight. If you can constantly feel your lashes, they pinch when you blink, or your lids look red, something needs to change. Do not try to push through discomfort for the sake of a good eye look.
Damage may look like breakage, sparse patches, lashes growing in different directions or irritation around the lid margin. These signs are a reason to pause your lash routine and give the area some gentle attention.
What causes cluster lash damage?
Too much adhesive or incorrect placement
More adhesive does not mean better hold. Excess bond can spread across multiple natural lashes, creating a stiff section that moves as your lashes grow. It can also touch the waterline or skin, which may lead to stinging and irritation.
Whether you use a traditional bond or a pre-glued lash system, keep placement precise. Clusters should be attached to the natural lash hairs, not pressed into the eyelid or waterline. Use a mirror below eye level, work in good light and apply one small cluster at a time. That extra minute is far better than having to correct a messy set later.
Pulling clusters off at the end of the day
The fastest route to lash breakage is peeling a cluster away when it is still firmly attached. Natural lashes are delicate. If adhesive has gripped the lash hair, pulling can take healthy lashes with it.
This is especially tempting after a long night out, when removal feels like the last job you want to do. Make it easy on yourself: keep the appropriate remover and clean cotton pads where you do your skincare. Soften the adhesive first, then gently slide the cluster away rather than tugging downwards.
Wearing them longer than intended
Lashes collect natural oils, make-up, skincare residue and everyday debris. As wear time increases, the bond may become uneven, and clusters can start twisting or lifting at the edges. Trying to rescue a lifting cluster with repeated layers of adhesive can make removal much harder.
Always follow the wear guidance for your specific lash and adhesive system. A one-night style, a multi-day style and a reusable strip of clusters need different care. If a cluster is uncomfortable, twisted or partially detached, remove it safely instead of forcing extra wear from it.
Choosing a style that is too heavy
A dramatic, dense style can look gorgeous for a party, but it may not be the best everyday choice if your natural lashes are fine or short. Length, curl and volume all add weight. The heavier the cluster, the more careful you need to be about placement and wear time.
For everyday wear, choose lightweight fibres and a length that blends naturally with your own lashes. A wispy, shorter map can still give you bright, lifted eyes without putting unnecessary strain on the lash line. Save your boldest volume for occasions when you want maximum impact.
Skipping a clean base
Mascara, oily eye cream and old adhesive can stop clusters from sitting correctly. When lashes do not bond evenly, it is easy to keep pinching, repositioning and adding more product. That repeated handling is not kind to natural lashes or sensitive eyelids.
Start with clean, dry lashes. Avoid applying rich skincare or oil-based make-up remover close to the lash line immediately before application. If you wear mascara, remove it fully before applying clusters unless your chosen system specifically says otherwise.
How to reduce cluster lash damage at home
The best DIY routine is simple, controlled and never rushed. Start by selecting a style that suits both the occasion and the strength of your natural lashes. You do not need the longest cluster in the tray to create a flattering result. A soft cat-eye or rounded map, built with lighter clusters, often looks more polished and feels more comfortable.
Next, check your lash line before applying. If your eyes are sore, red, watery or irritated, skip lashes that day. Applying adhesive over an already unhappy lash line can make the issue worse. The same applies if you have rubbed your eyes, had an allergic reaction to another beauty product, or are recovering from an eye infection.
Use clean tools and clean hands. Pick up each cluster gently, apply only the amount of adhesive your system requires, then position it without dragging it through your natural lashes. Leave a tiny, comfortable gap from the waterline. Once the cluster is in place, lightly press to secure it. There is no need to clamp hard or repeatedly squeeze your lash line.
Pre-glued options can be a particularly useful choice for beginners or anyone who wants less mess. By removing the guesswork around applying liquid adhesive, they can help you create a polished look in seconds. As with any lash product, follow the instructions supplied, avoid adding incompatible glue on top, and remove them using the recommended method.
If you are building a fuller look, use several smaller, well-placed clusters rather than relying on one oversized section. This gives you more control over shape, makes the finished set look lighter and reduces the chance of one cluster pulling on too many natural lashes.
Safe removal matters as much as application
Removal is where your natural lashes need the most patience. Begin by washing your hands and taking off eye make-up around the area. Apply a suitable lash adhesive remover according to its instructions, allowing enough time for the bond to soften.
Hold the lid gently taut with one hand and ease the cluster away sideways with the other. It should release with very little resistance. If it does not, add more remover and wait. Never use tweezers to yank a cluster off your natural lashes, and avoid picking at leftover bond with your nails.
Once your clusters are off, cleanse the lash line gently to remove adhesive residue. Do not scrub. If your lashes feel dry or tangled, leave them makeup-free for a day or two and resist the urge to immediately apply another set.
What to do if your lashes look damaged
If you notice mild breakage or a few sparse areas, take a break from extensions and clusters until your lash line feels comfortable again. Be gentle when cleansing, avoid rubbing your eyes and do not use waterproof mascara that needs vigorous removal. Natural lashes grow gradually, so visible recovery takes patience.
If you have persistent redness, swelling, itchiness, pain, discharge, crusting or any change to your vision, remove the lashes and seek advice from an optician, pharmacist, GP or NHS 111. These symptoms can point to irritation, an allergy or an eye condition that should not be managed with another lash product.
You should also stop using a particular adhesive or style if irritation returns each time you wear it. A lighter style, a different application method or a break from lash products may be the better choice for your eyes.
Build your best lash routine
Beautiful DIY lashes should feel like a confidence boost, not a commitment to discomfort. Choose a style that suits your natural lashes, keep your application clean and light, and give removal the time it deserves. With a little care, you can switch up your look whenever you like while keeping your natural lashes looking healthy between sets.